One of my goals for the year is to document some of my projects. Adam Savage of Mythbusters fame is credited with saying “Remember kids, the only difference between screwing around and science is writing it down”. Side note: according to Adam, it was actually Alex Jason, a ballistics expert working with them on one of the episodes. In any case, my head variation is “The only difference between actually doing something and fooling around is writing it down”. To that end, I’ll do some little after-project write-ups from some of my little side projects by way of differentiating between fooling around and whatever results I get, good or bad.
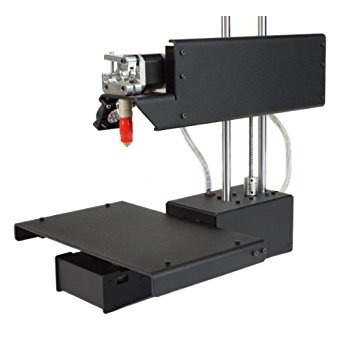
In this case, I was talking with the GM (Game Master) from our weekly Game Night and we were chatting about things including my 3D printing and I was lamenting that I hadn’t done much with it lately. He noted that if I was looking for a project, he would like small, stackable elements that he could use to differentiate players or non-players and the various elevations. This comes up because it’s easy to forget something was up in the air or how much versus a simple 2D position.
The conversation stuck and I started noodling and thinking about designs. So, step 1 was sketch and this is what I came up with:
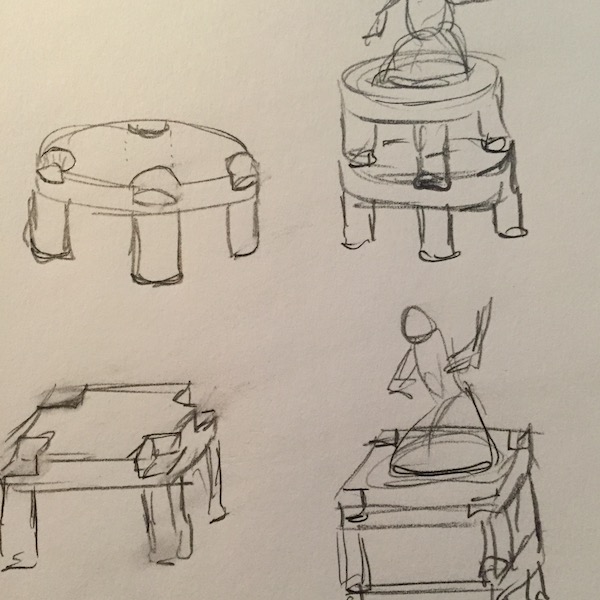
As I started to think about how a 3D printer works (think of squeezing out a tube of toothpaste with a very narrow mouth, but instead with melted plastic and in 3 dimensions), it turns out it’s kind of tough to make something flat like the sketch standing on legs, because the printer prints in layers from the bottom up and going from legs to the platform will not work easily. I then realized I could flip it over and print the top surface first and the legs last and suddenly I had a plan.
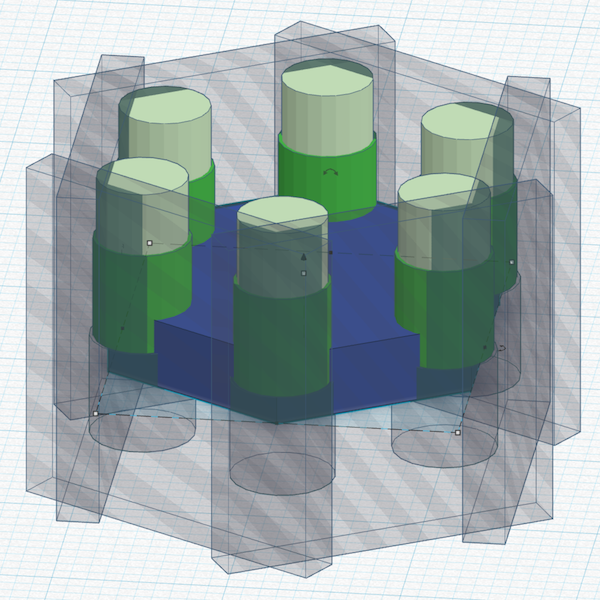
The next step in prototyping is building a model. In this case the easiest and quickest solution was to build it using TinkerCAD. TinkerCAD is free, online CAD software that has enough functionality to do what I needed. So, after coming up to speed on the UI and how it worked, I started knocking out the design. In a CAD program, what you’re building is a series of shapes/solids and other shapes that act as holes which you use to cut, well, holes or shave pieces off the solids.
Here is what that looks like:
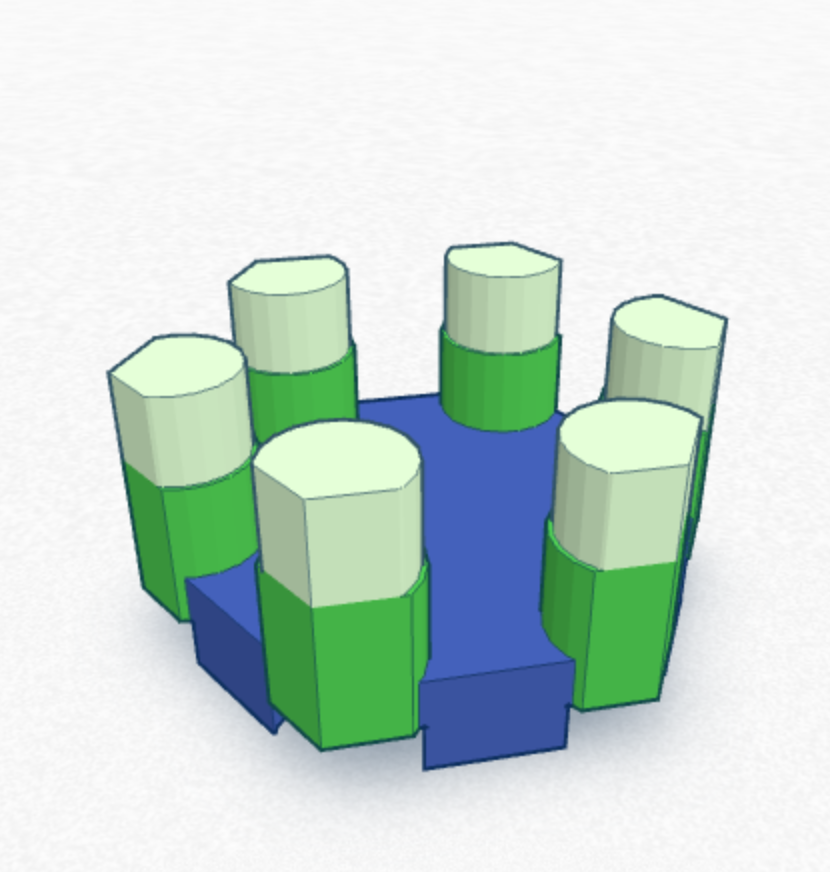
Or, rendered as a solid:
Now, with that, I can export that information in a file format that the 3D printer understands (typically a .STL or .OBJ). Next I import that file in to the software which communicates with the 3D Printer (in this case, Cura). Cura is used as a way to set up the print, describe options like quality and other obscure things like infill, whether to use support structures, etc. Once I was happy with those, I hit Print and wait 20 minutes for the results (and hope the 3D print doesn’t come loose and waste 20 minutes and the associated material).
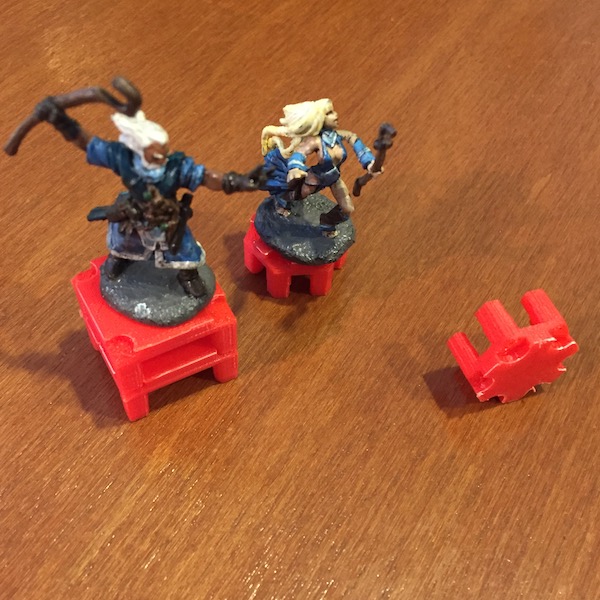
Even with that, there’s a difference between what you picture in your head and what works in reality. In this case, what I determined after iterating on the design a few (like, six) times is that what I really wanted were legs that were narrower than the holes they fit in to to allow easy stacking that felt connected and wasn’t sloppy but you also didn’t have to force. So, yeah, only six or seven tries.
Before I offer the end result, I’ll show what I’ll call my Pile of Sadness. This is a combination of failed iterations and failed prints. This is what the middle bits between idea/inspiration and a working prototype look like:
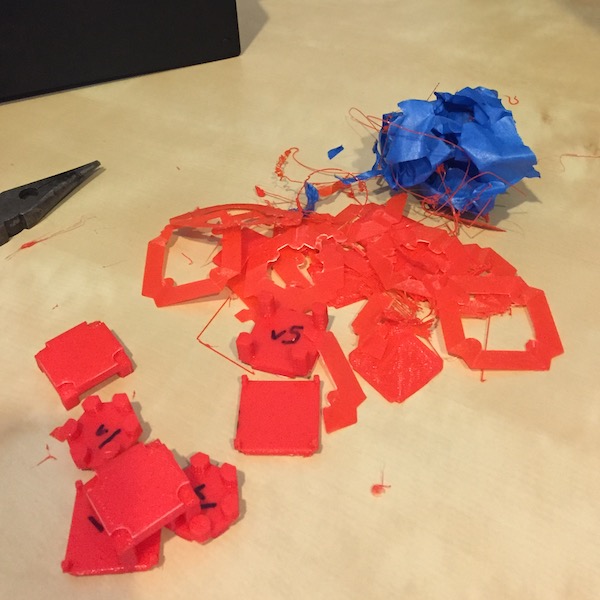
The result, though, was pretty good. I was happy with it and will print up a number of them for our GM to use (or not) in our game. Because, in the end, it was really about making something that didn’t exist before as much as it was about solving the problem. But, solving the problem (satisfying my customer) also feels good.
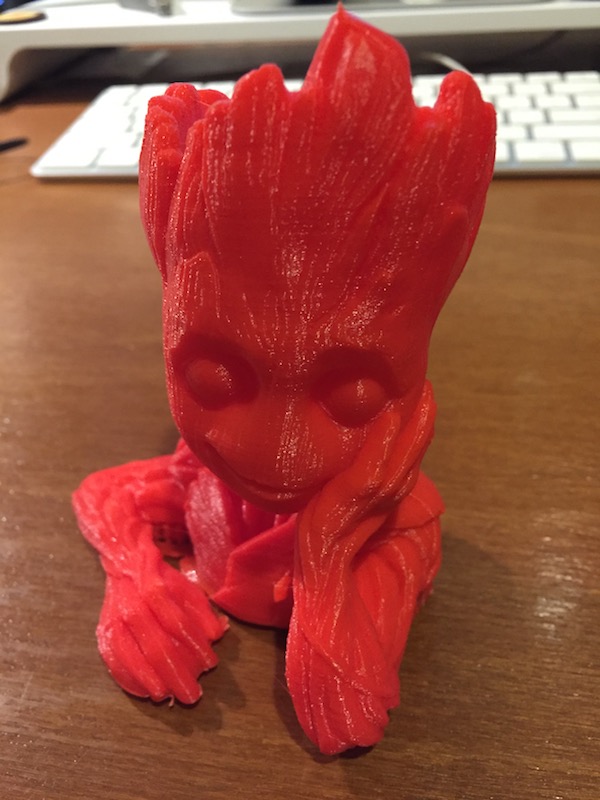
And, as an additional bonus for lasting this long, here is a print I did just for fun of Baby Groot. (Design credit to Tom Davis and the model found on MyMiniFoundry)
Note: This will only be cool if you know the Guardians of the Galaxy movie and its sequel.
Thanks!


0 Comments